The AEM 340LPH 65mm Fuel Pump Kit is one of the more popular in-tank pump upgrades on the WRX and STI platform, covered previously in the post on why serious builds skip the drop-in. What that post does not cover in detail is what actually goes into installing it correctly. This one walks through what is in the kit, what the wiring side requires, the fitment detail that catches people off guard if they skip past it, and the mistakes worth avoiding along the way.
Why the Factory Pump Runs Out of Room
The factory in-tank pump on a WRX or STI is sized around factory power output, with a modest margin built in for normal wear and tolerance. As boost, tuning, or fuel type changes push demand upward, that margin disappears, and the factory pump becomes a hard ceiling on how much fuel the engine can actually receive regardless of what the rest of the build is capable of. The post on how much power can the stock WRX/STI fuel system handle covers this ceiling in more depth, and a pump upgrade like this one is usually how that ceiling gets addressed.
What Comes in the Kit
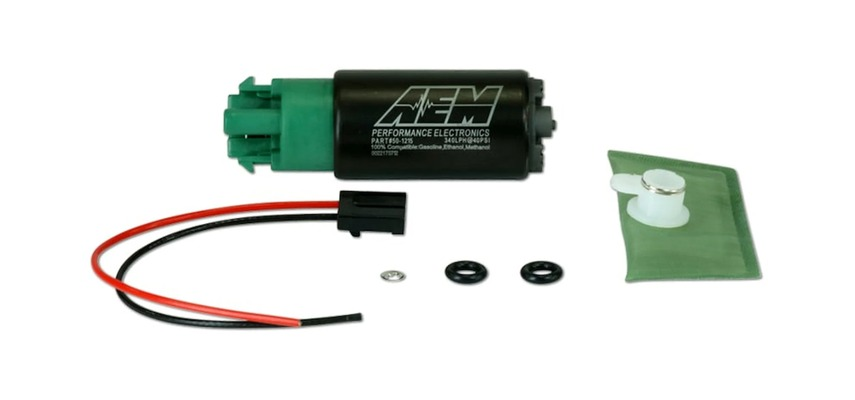
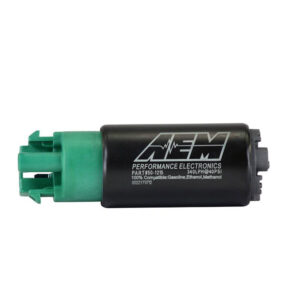
The kit includes the pump itself, a wiring harness, a pre-filter, o-rings, a rubber buffer sleeve, and end caps. The pump is built with a 65mm body and mounting hooks specifically designed for tight tolerance tank applications, with an offset inlet and inline outlet that eases routing inside the tank. AEM rates it to flow 340 lph at 40 psi, tested and verified on every individual unit before it ships, and it is compatible with gasoline, ethanol fuels up to E100, and methanol fuels up to M100.
The Fitment Detail Worth Knowing Before You Start
AEM is direct about this in their own documentation, this pump is built to a universal spec rather than sized for one specific vehicle’s fuel tank and sending unit assembly. The included hardware is not application specific, and AEM does not condone or approve of modifying a fuel tank to make the pump fit. In practice, this means confirming the pump fits correctly into the existing sending unit and tank basket before starting the install, rather than assuming it drops straight into place the way a vehicle-specific in-tank kit would.
For most WRX and STI applications, this pump pairs with the factory sending unit assembly using the included mounting hooks, but checking fitment against the actual tank and basket setup on the specific car first avoids running into a mismatch mid-install. Test fitting the pump against the sending unit basket before cutting or trimming anything, and comparing it against the factory pump side by side, is the most reliable way to catch a fitment issue before it becomes a bigger problem with fuel already drained and the tank already out.
Why the Wiring Side Matters Just as Much
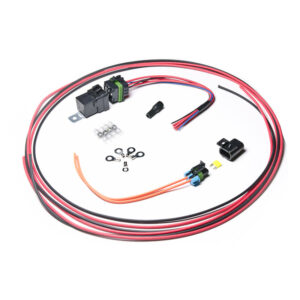
This pump draws real current, 12 amps at 40 psi and up to 15 amps at 80 psi, both measured at 13.5 volts. AEM specifies a 20 amp fuse for the circuit. Running that draw through factory wiring sized for the stock pump risks the same problems covered in the post on the DIY fuel pump wiring kit for WRX and STI, voltage drop under load and wiring that runs hotter than it should. A dedicated relay and fuse circuit sized correctly for this pump’s actual draw is the safer path, and that wiring kit is built for exactly this kind of install.
Voltage matters here too. The pump operates between 6 and 18 volts, and AEM’s rated flow figures assume 13.5 volts at the pump terminal. A wiring setup with excessive voltage drop between the battery and the pump will deliver less flow than the rated spec, even with the correct pump installed, which is part of why proper wiring is not a step to shortcut.
Tools and Prep Before Starting
Beyond the kit itself, this job typically calls for a fuel line disconnect tool for the factory quick connect fittings, basic hand tools for accessing the sending unit through the trunk or rear seat depending on the platform, a shop rag and container for any fuel spillage, and a multimeter for confirming voltage and continuity once the wiring is complete. Working in a well ventilated area matters more on this job than most, since the tank will be open with fuel vapor present for the duration of the install.
Running the fuel level low before starting, ideally close to empty, makes the tank significantly easier and safer to work with than attempting this job on a full tank.
General Install Steps
Every fuel system job starts with relieving fuel pressure and disconnecting the battery before opening the tank, since fuel systems stay pressurized even with the engine off. From there, accessing the sending unit assembly, removing the factory pump, and confirming the new pump seats correctly using the included hooks and rubber buffer sleeve comes next. The pre-filter and o-rings included in the kit should be installed as specified rather than reused from the factory pump, since they are sized to match this specific pump’s inlet.
Wiring comes last, connecting the pump’s flying leads to the relay-controlled circuit rather than directly into the factory harness. Testing for leaks and confirming fuel pressure before reassembling the tank and interior trim is the final step, and skipping that check is one of the more common mistakes on a job like this.
Common Mistakes Worth Avoiding
The most common issue on this specific install is assuming the pump will drop straight into the factory basket without test fitting it first, then discovering a mismatch after the tank is already out and fuel already drained. A close second is wiring the pump into the factory circuit without a dedicated relay and fuse, which works initially but creates the exact voltage drop and overheating risk this pump’s higher current draw is prone to causing over time. Skipping the post-install leak check is the third common mistake, since a slow leak at a fitting or seal is far easier to catch and correct before the tank and trim go back together than after.
Where This Fits in a Fuel System Build
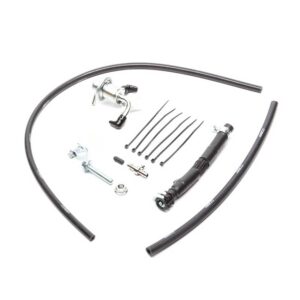
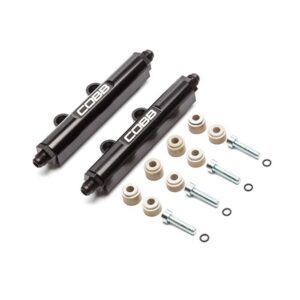
A pump upgrade like this one is often paired with rails, lines, and a regulator sized to handle the added flow, covered in the post on COBB fuel rails, line kit, and regulator for Subaru STI. The WRX fuel system upgrades hub and STI fuel system upgrades hub both cover how pump, wiring, rails, and regulator work together as a complete system.
Frequently Asked Questions
Does the AEM 340LPH 65mm pump fit directly into a WRX or STI fuel tank?
It is built to a universal spec rather than a vehicle-specific fit, so confirming it seats correctly in the existing sending unit and tank basket before starting the install is worth doing rather than assuming a direct fit.
Can I wire this pump through the factory fuel pump circuit?
It is not recommended. The pump’s current draw exceeds what factory wiring and fusing were sized for, so a dedicated relay and fuse circuit rated for the pump’s actual draw is the safer approach.
Does low voltage affect this pump’s rated flow?
Yes. AEM’s rated flow figures assume 13.5 volts at the pump terminal. Excessive voltage drop in the wiring reduces actual flow below the rated spec even with the correct pump installed.
What is the most common mistake people make installing this pump?
Assuming it fits the factory sending unit basket without test fitting it first. Since AEM builds it to a universal spec rather than a vehicle-specific fit, checking fitment before the tank is drained and pulled avoids the most common source of frustration on this install.